
DIY Camping Chair: Build Your Own Lightweight Backpacking Gear for Real Trail Comfort
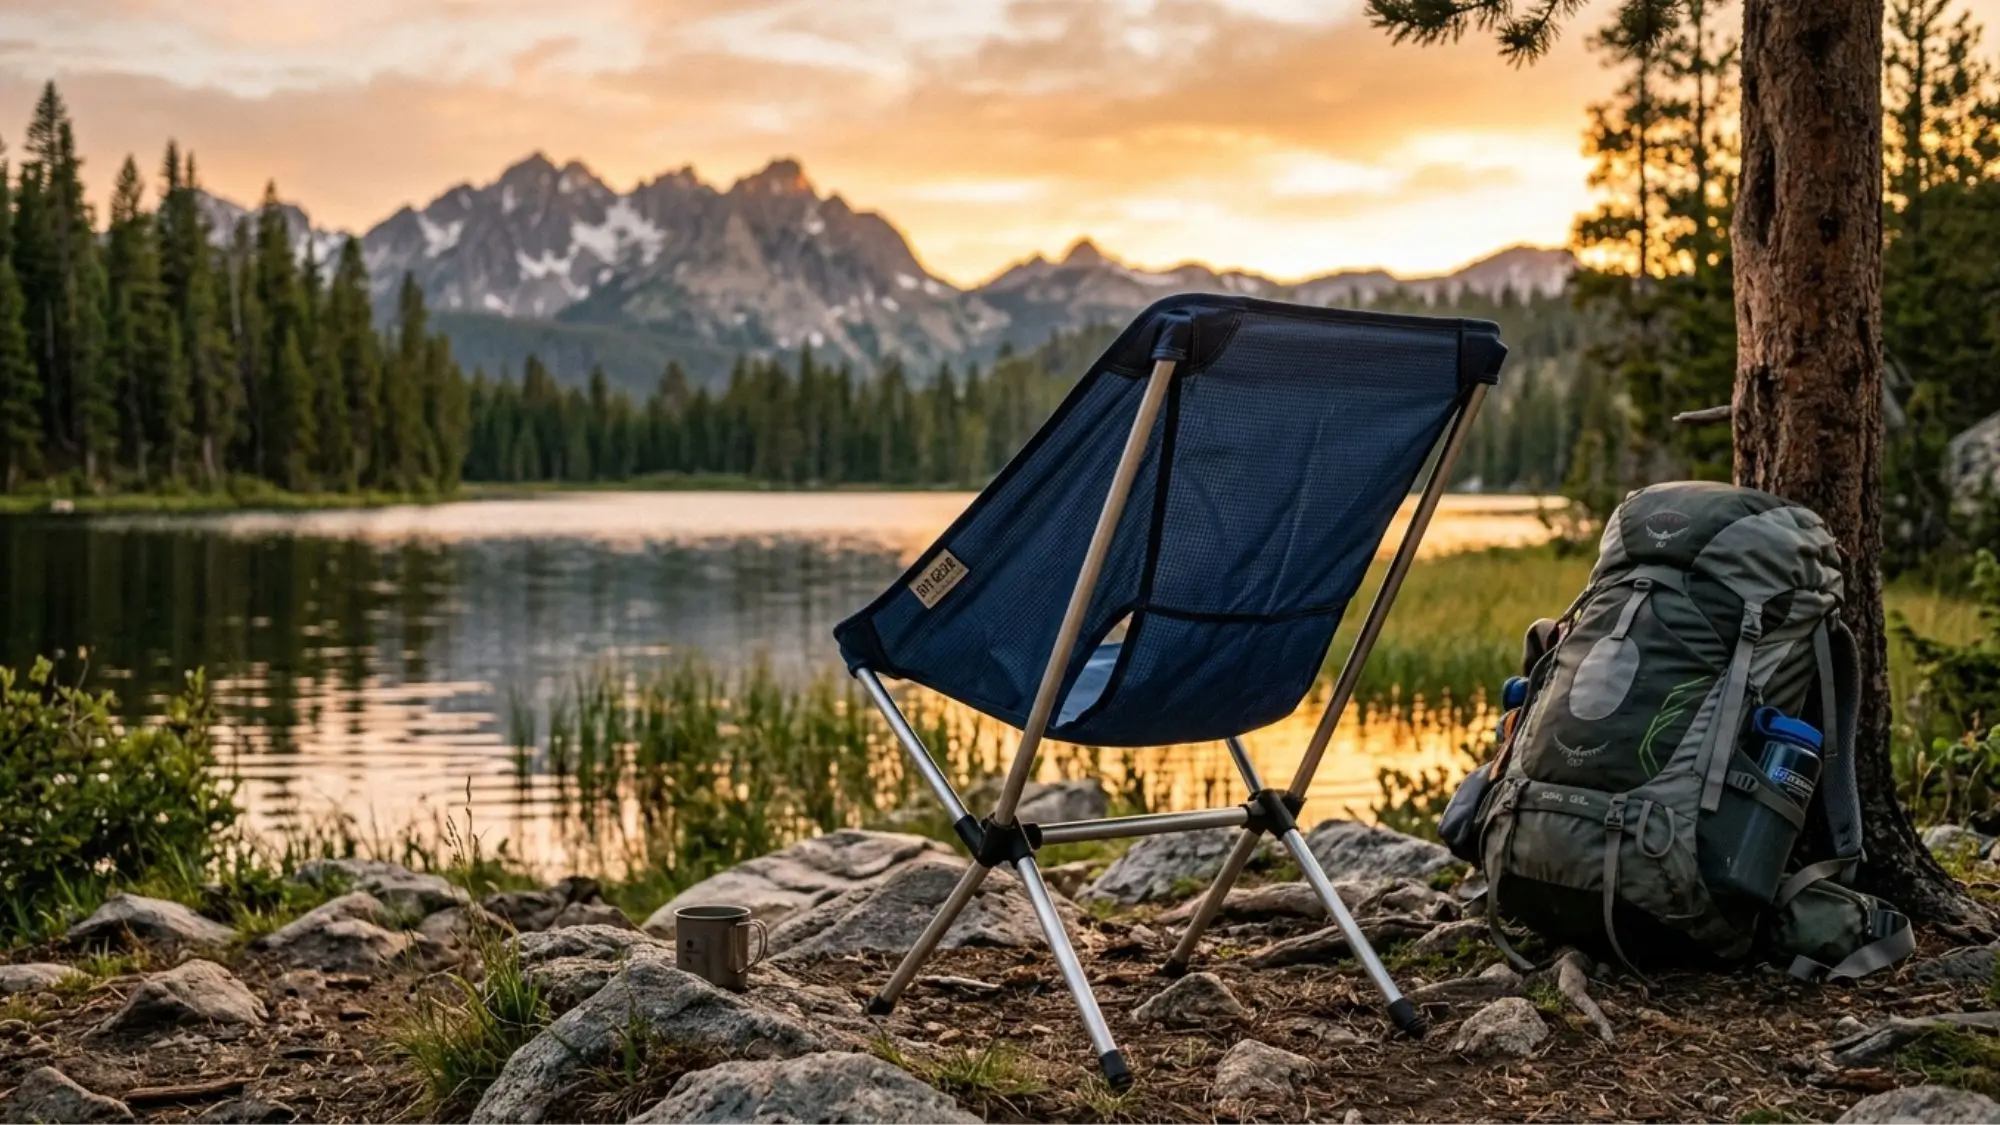
There’s a moment on every trip when your legs are done. You’ve covered the miles, filtered the water, pitched the tent—and now all you want is a place to sit that isn’t a rock or a damp log. That’s when you realize how much a simple chair can change your entire outdoor experience.
Instead of spending $150 on a branded ultralight seat, you can build a DIY camping chair tailored to your body, your pack, and your hiking style. When you make it yourself, you control the weight, the durability, and the comfort. More importantly, you carry something on the trail that reflects your skills—not just your shopping cart.
This guide walks you through everything you need to know about building your own DIY camping chair and backpacking gear, from materials and design to weight optimization and long-term durability.
Table of Contents
Why You Should Build a DIY Camping Chair
Save Money Without Sacrificing Performance
High-end backpacking chairs from brands like Helinox or REI typically cost between $100–$200. You can build your own for $30–$65, depending on material choices.
That means:
- More money for trail permits or gear upgrades
- Less regret if something breaks
- Full control over quality
Customize It for Your Body
Store-bought gear is built for “average” dimensions. But your height, weight distribution, and posture aren’t average.
When you build your own:
- You choose the seat height (10–14 inches is common for backpacking).
- You adjust width for comfort.
- You fine-tune tension for lumbar support.
You’re not adapting to the chair—the chair adapts to you.
Control the Weight for Backpacking
If you care about base weight, you already know every ounce matters.
With a DIY camping chair, you decide:
- Frame material
- Fabric density
- Hardware type
- Packed size
Ultralight hikers often aim for comfort gear under 1.5 lbs. That’s absolutely achievable with the right build.
DIY Camping Chair vs Store-Bought: Quick Comparison
| Feature | DIY Camping Chair | Store-Bought Chair |
| Average Cost | $30–$65 | $100–$200 |
| Weight Control | Fully customizable | Fixed |
| Repairability | Easy field repair | Often difficult |
| Custom Fit | Yes | No |
| Satisfaction Level | High | Moderate |
If you enjoy hands-on projects, the DIY route gives you more than savings—it gives you ownership.
Materials You Need for a DIY Camping Chair
Choosing the right materials determines how strong, light, and durable your chair will be.
Frame Options
1. Aluminum Tubing (Best Overall Choice)
- 6061 or 7075 aluminum
- Lightweight and strong
- Corrosion resistant
- Ideal for backpacking
2. PVC Pipe (Budget Option)
- Affordable and easy to cut
- Heavier than aluminum
- Better for car camping
3. Carbon Fiber Poles (Ultralight Upgrade)
- Extremely lightweight
- Expensive
- Excellent strength-to-weight ratio
For most backpackers, 7075 aluminum strikes the perfect balance between weight and durability.
Fabric Choices for Strength and Comfort
Your fabric must support body weight while resisting abrasion.
Best options include:
- Ripstop nylon – Lightweight and tear-resistant
- Cordura – Extremely durable
- Canvas – Strong but heavier
- Recycled sailcloth – Eco-friendly and tough
For backpacking, ripstop nylon offers the best mix of weight and resilience.
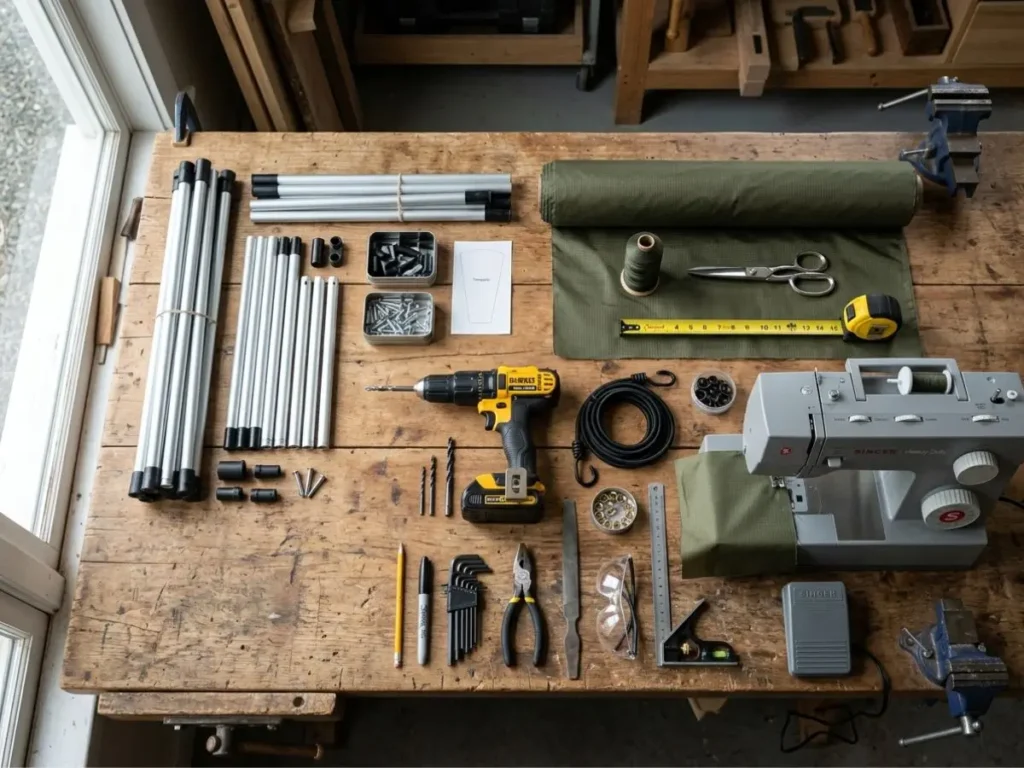
Tools You’ll Need
You don’t need a professional workshop. Basic tools will do:
- Pipe cutter or hacksaw
- Drill and bits
- Measuring tape
- Heavy-duty sewing machine
- Rivets or shock cord
- Sandpaper (for smoothing edges)
Once you have these, you’re ready to build.
Step-by-Step Guide to Building Your DIY Camping Chair
Step 1: Plan Your Dimensions
Start with measurements.
- Seat height: 10–14 inches
- Seat width: Your hip width + 2 inches
- Packed pole length: Short enough to fit inside your backpack
Sketch the frame before cutting anything. A simple cross-frame or hub-style design works well for collapsibility.
Step 2: Cut and Prepare the Frame
- Measure tubing carefully.
- Cut evenly with a pipe cutter.
- Smooth edges using sandpaper.
- Drill connector holes if needed.
- Insert shock cord through poles for a collapsible design.
Shock-corded poles make assembly quick at camp and keep everything organized inside your pack.
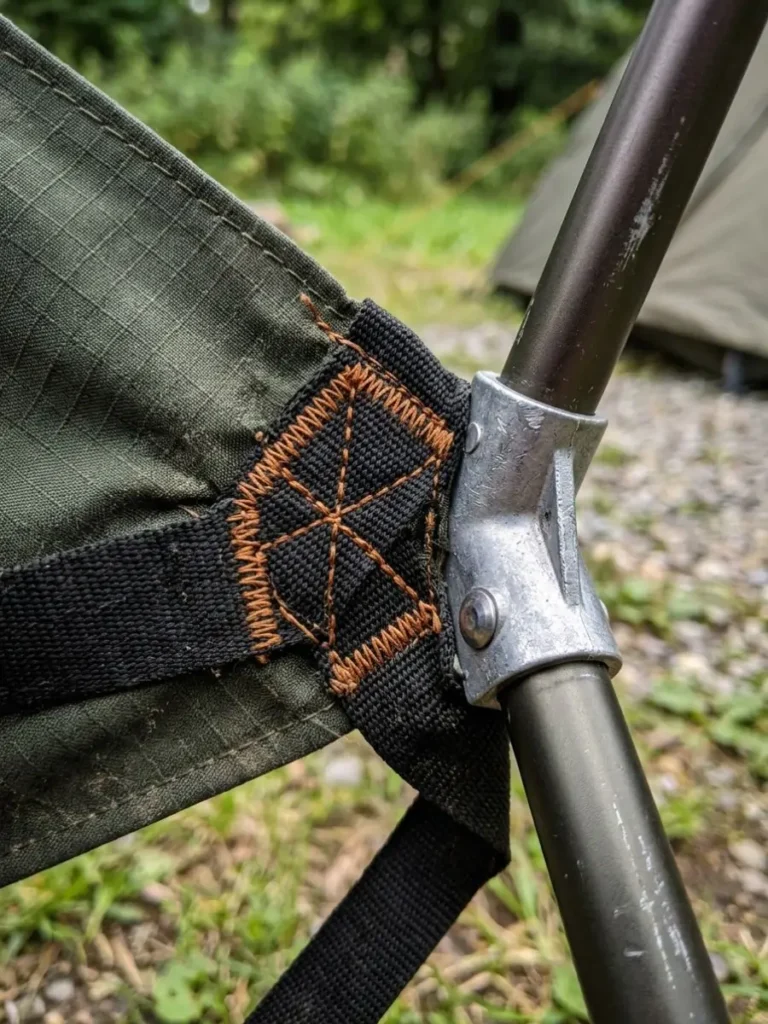
Step 3: Sew the Fabric Seat
Your fabric must distribute weight evenly.
Key techniques:
- Double-stitch all seams
- Reinforce corners with extra fabric layers
- Use bartack stitching at stress points
- Create pole sleeves or reinforced pockets
Tension matters. If the fabric is too loose, you’ll sag. Too tight, and you’ll strain seams.
Step 4: Assemble and Test
Slide the poles into the fabric pockets. Set the frame upright and test gradually.
Before using it on a trip:
- Sit carefully at first.
- Shift weight slowly.
- Check joints and stitching.
- Test at 1.5× your body weight briefly to confirm durability.
A short backyard test can save you from trail frustration.
Weight Optimization for Backpacking
If you’re building a DIY camping chair specifically for backpacking, focus on trimming unnecessary weight.
Ultralight Strategies
- Use thin-wall aluminum tubing
- Replace steel bolts with aluminum rivets
- Skip armrests
- Minimize excess fabric
- Use compact connectors
Ideal Weight Targets
| Backpacking Style | Target Chair Weight |
| Ultralight | Under 1.5 lbs |
| Lightweight | 1.5–2 lbs |
| Casual Camper | 2–3 lbs |
Every ounce saved improves comfort over long miles.
Pair Your DIY Camping Chair with Smart Backpacking Gear
If you’re already building gear, consider expanding your setup.
DIY Backpacking Gear Ideas
- Roll-top dry bag
- Alcohol stove
- Foldable camp table
- Minimalist groundsheet
- Paracord organizer
When you build gear yourself, you can design pieces that serve multiple functions.
For example:
- Chair poles can double as tarp supports.
- The chair stuff sack can act as a pillow.
- Fabric scraps can reinforce other gear.
This approach keeps your pack light and efficient.
Durability, Maintenance & Safety Tips
A well-built DIY camping chair can last years with proper care.
Before Each Trip
- Check stitching for wear
- Inspect joints for cracks
- Tighten loose hardware
- Test stability on uneven ground
Weather Protection
- Apply waterproof spray to fabric
- Store dry to prevent mildew
- Avoid prolonged UV exposure
- Use rust-resistant coatings on metal
Small maintenance steps dramatically extend gear life.
Common Mistakes to Avoid
Even experienced builders slip up. Avoid these errors:
- Using weak thread
- Choosing fabric that’s too thin
- Ignoring weight balance
- Over-tightening frame connectors
- Skipping reinforcement at stress points
Take your time during construction. Precision prevents failure.
Budget Breakdown
Here’s what you can expect to spend:
| Item | Estimated Cost |
| Aluminum Tubing | $15–$30 |
| Fabric | $10–$25 |
| Hardware & Shock Cord | $5–$10 |
| Total | $30–$65 |
Compared to commercial ultralight chairs costing $120 or more, the savings are significant.
FAQ About DIY Camping Chair & Backpacking Gear
Is a DIY camping chair strong enough for backpacking?
Yes. When built with 7075 aluminum tubing and reinforced ripstop nylon, your DIY camping chair can easily support 250–300 lbs. Strength depends on proper stitching and frame construction.
How light can a DIY camping chair be?
With ultralight materials, you can keep your DIY camping chair under 1.5 pounds. Carbon fiber poles reduce weight even further, though at a higher cost.
Is building a DIY camping chair cheaper than buying one?
Absolutely. Most homemade builds cost 50–70% less than premium outdoor brands, while offering similar performance.
What fabric works best for a DIY camping chair?
Ripstop nylon offers the best balance between strength and weight. Cordura is more durable but slightly heavier.
How long does it take to build a DIY camping chair?
If you have tools ready, you can complete your chair in 3–5 hours, including sewing and assembly.
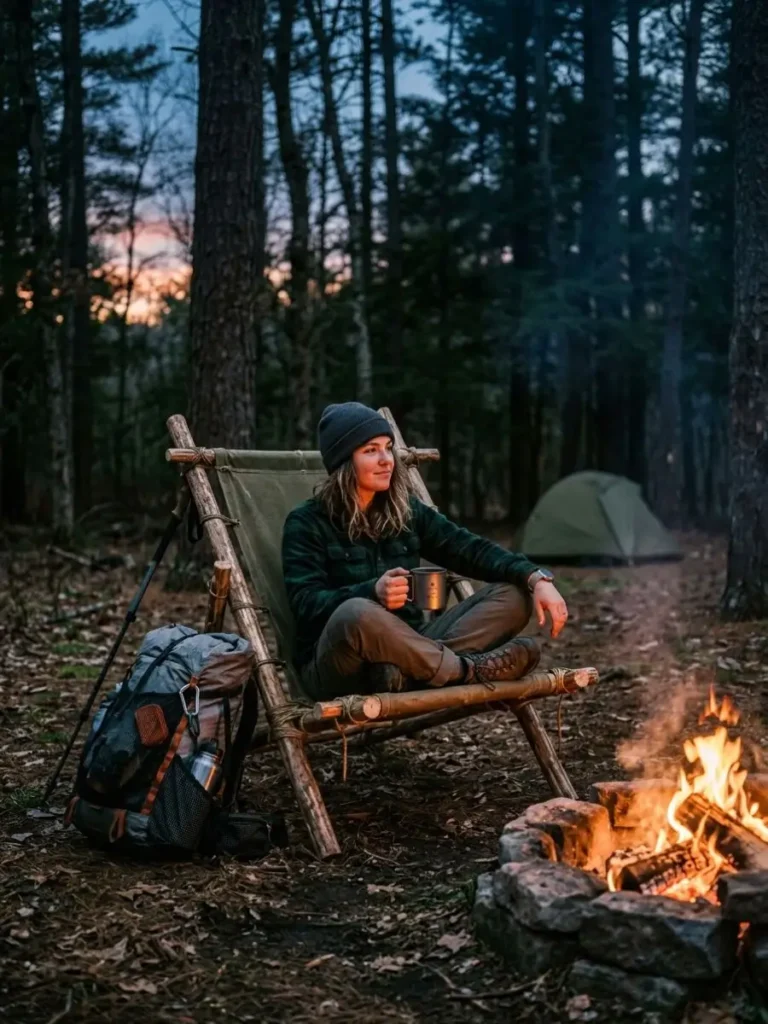
Why Building Your Own Gear Changes the Way You Camp
When you carry gear you made yourself, something shifts. You’re not just consuming outdoor culture—you’re participating in it.
You understand:
- How your gear works
- How to repair it
- How to improve it
- How to modify it for future trips
That confidence carries over into your hiking decisions. You pack smarter. You move lighter. You rely less on brand names and more on skill.
And when someone at camp asks where you bought your chair, you get to say, “I built it.”
Final Thoughts: Build It, Test It, Take It Anywhere
A DIY camping chair isn’t just a budget alternative. It’s a practical, customizable, lightweight solution for backpackers who value comfort and self-reliance.
You now have:
- The materials list
- The construction steps
- Weight optimization strategies
- Budget expectations
- Maintenance tips
The next step is yours.
Gather your materials. Sketch your design. Spend an afternoon building something that will travel with you for years.
When your next adventure ends with a sunset and tired legs, you won’t be searching for a dry rock. You’ll unfold your own chair, sit back, and enjoy the view in comfort you created.
Ready to Build Your DIY Camping Chair?
Start planning your design today. If you found this guide helpful, share it with a fellow backpacker—or save it for your next gear project. Your trail comfort is worth the effort.