
How to Pitch a Tent for Beginners: Step-by-Step Dome Tent Instructions That Keep You Dry and Calm
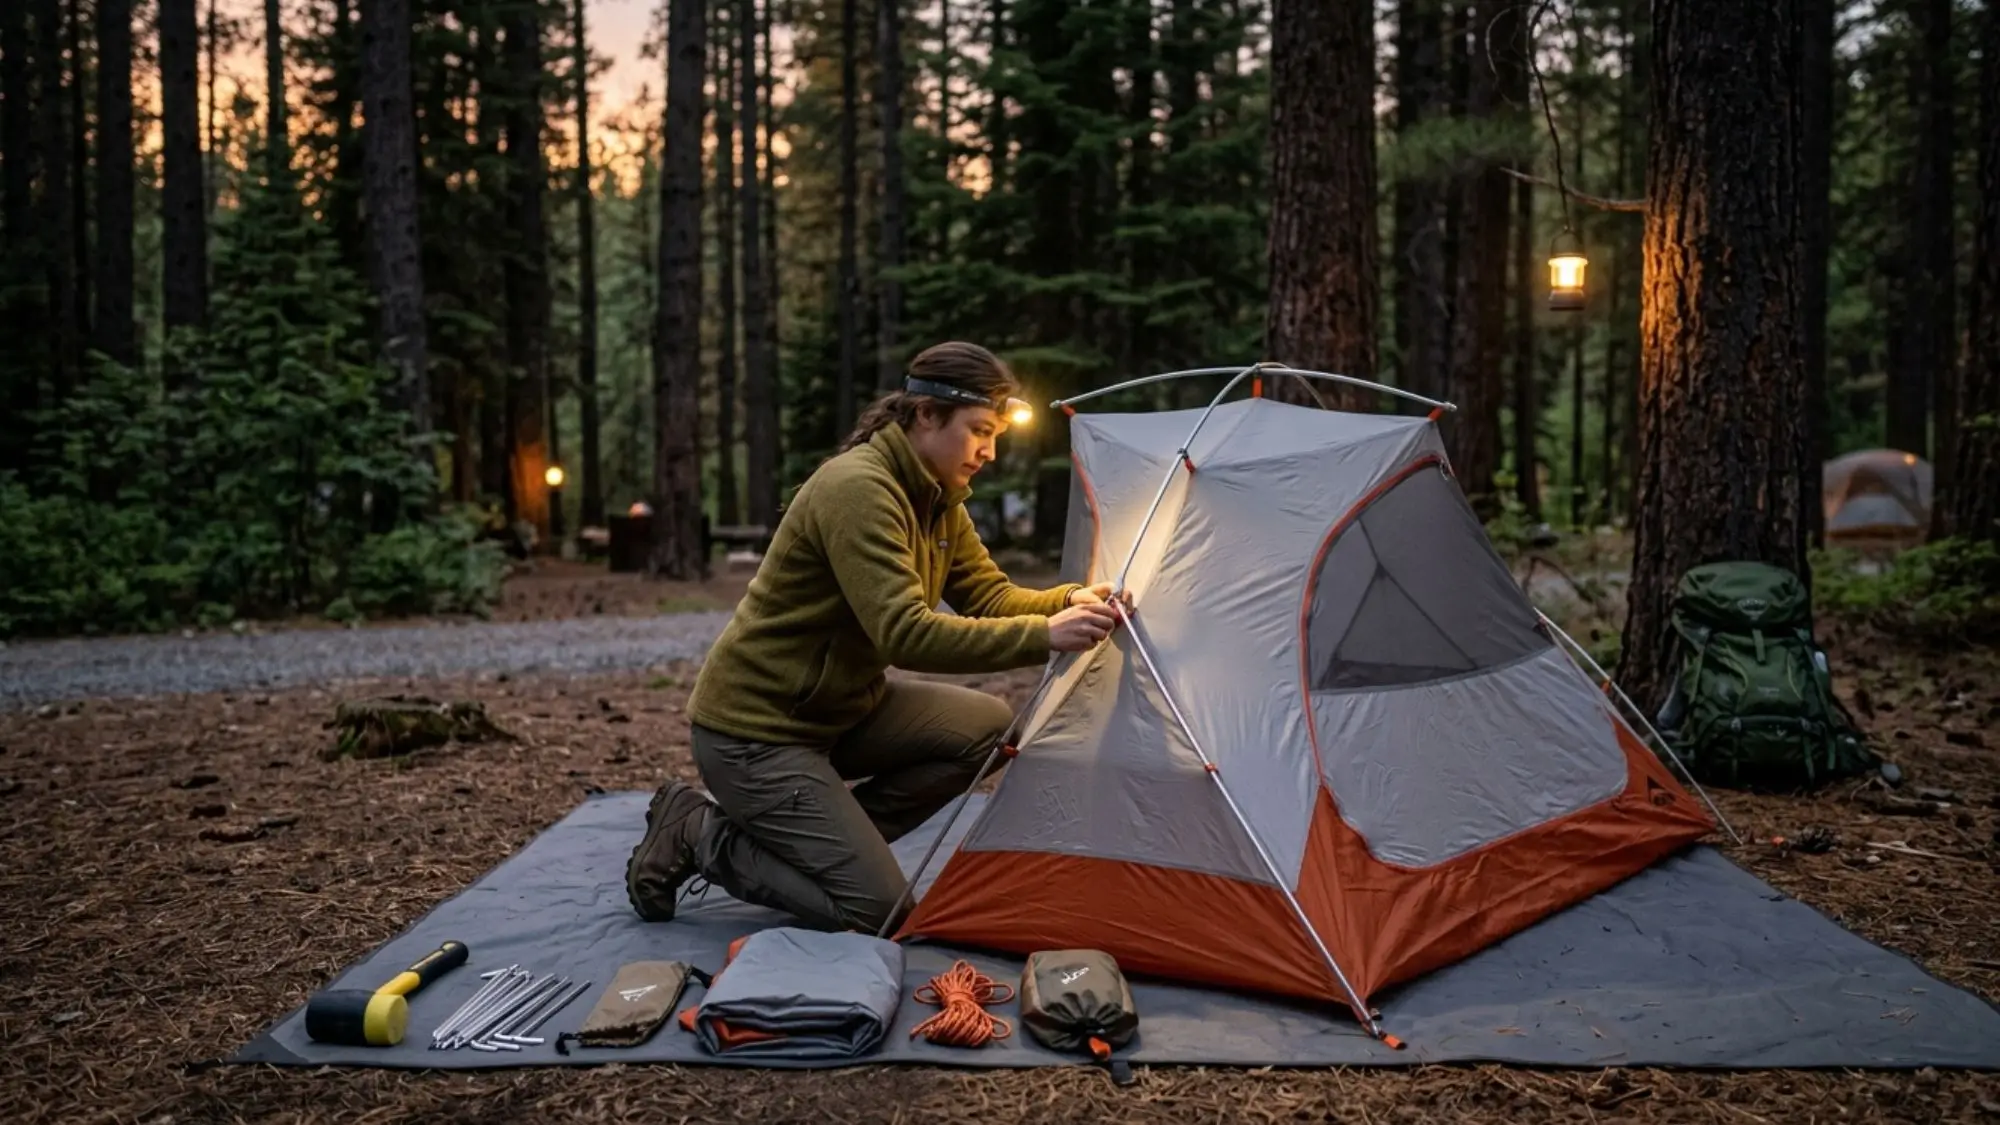
The first time you pitch a tent, the pressure feels weirdly high. Daylight drops faster than you expect, the wind picks up at the worst moment, and that “simple” dome tent suddenly looks like a bag of parts with no obvious starting point. If you’ve ever stood there thinking, “I’m supposed to sleep in this tonight?”—you’re in the right place.
This guide walks you through how to pitch a tent for beginners, specifically a dome tent, using a clear order that prevents the most common problems: twisted poles, sagging rainflies, loose corners, and that flappy noise that keeps you up all night. You’ll also learn how to pick a smarter spot, stake and guy out correctly, and troubleshoot fast when something doesn’t fit the way you expected.
Table of Contents
Quick Prep Before You Pitch: What to Check and Why It Matters
A dome tent is beginner-friendly because the pole structure creates a self-supporting shape. But “easy” doesn’t mean “no prep.” A two-minute check saves you a long setup.
Dome Tent Setup Checklist (Use This Table to Avoid Missing Parts)
| Item | What it does | What to look for before you start |
| Tent body | Main shelter | Door orientation, pole clips/sleeves, corner grommets |
| Poles (often 2 main + optional ridge pole) | Builds the dome frame | Cracks, missing segments, tight shock cord |
| Rainfly | Rain + wind protection | Matching door/vestibule, intact seams, working buckles |
| Stakes (8–12 typical) | Anchors corners and guy points | Straight enough to drive, not rusted/bent |
| Guy lines | Stabilizes in wind | Untangled lines, tensioners present (or tie knots) |
| Footprint/groundsheet | Protects floor from abrasion/moisture | Sized slightly smaller than tent floor |
| Mallet or sturdy rock | Drives stakes | Flat striking surface |
| Small repair kit | Fixes small failures | Duct tape, spare stake, patch, pole sleeve (if you have one) |
Source notes (for credibility and best practices):
- REI’s beginner tent setup and staking guidance is a strong practical reference.
- Leave No Trace provides widely accepted campsite selection and impact tips.
- National Park Service (NPS) materials often reinforce storm and site safety basics.
Step 0 (Yes, Zero): Choose the Right Spot for Your Dome Tent
Most “tent problems” start with the ground. If your site is wrong, your tent can be perfect and you’ll still sleep poorly.
How to Choose a Campsite That Stays Dry
Use this quick scan before you unpack:
- Avoid low spots and channels (even shallow dips). Rainwater flows like it has a plan.
- Look for flat, durable ground—packed soil beats soft sand or loose gravel for staking.
- Check above you: dead branches and leaning trees are real hazards in wind.
- Use natural wind breaks (shrubs, boulders, small rises), but don’t camp in fragile vegetation.
- Think about runoff: if you see smooth, bare soil like water has traveled there before, pick another place.
Wind Direction in 10 Seconds
If you’re unsure where the wind is coming from:
- Toss a pinch of dry grass or a bit of dirt.
- Watch which way it drifts.
- Plan to face the narrow end (or the less-open side) of your tent toward the wind when possible.
How to Pitch a Dome Tent: Step-by-Step Instructions (Beginner-Friendly Order)
Follow this sequence and you’ll avoid the classic beginner loop of “set it up, realize it’s backwards, pull it apart, start again.”
Step 1: Lay Down the Footprint and Tent Body
- Spread your footprint/groundsheet first.
- Place the tent body on top, centered.
- Rotate the tent so:
- The door faces where you want your entry path.
- The door is not facing into the strongest wind.
- Smooth the tent floor so the corners reach naturally.
Beginner tip: If your footprint sticks out beyond the tent floor, fold it under. Exposed edges can collect rain and guide it underneath you.
Step 2: Assemble the Poles Without Forcing Them
Most dome tent poles are shock-corded.
- Let the segments snap together naturally.
- If a segment feels stuck, twist gently—don’t ram it.
- Keep poles away from grit and sand; debris inside ferrules causes poor fit.
Quick Pole ID (So You Don’t Mix Them Up)
- Two long poles usually form the “X” that makes the dome.
- A shorter pole (if included) often creates extra headroom or supports the rainfly.
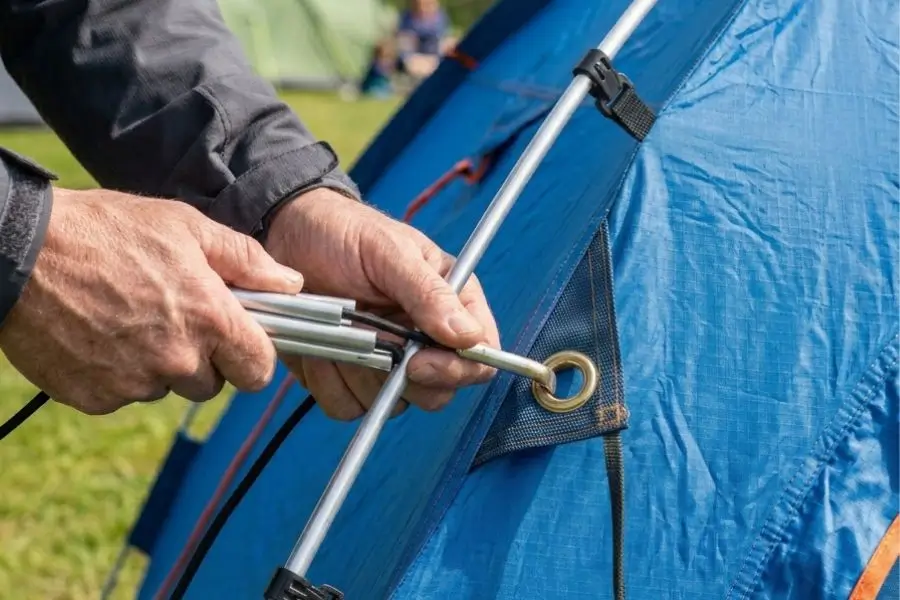
Step 3: Insert Poles and Raise the Dome
Your tent will either use pole sleeves or clips (many modern dome tents use clips).
- Thread the first long pole through its sleeve or clip points along one side.
- Seat both pole ends into the corner grommets/pins.
- Repeat with the second long pole so they cross in the center.
- As you seat the final corner, the tent will lift into shape.
If it feels “off”:
- Check that the tent body isn’t rotated diagonally.
- Confirm you didn’t run a pole through the wrong sleeve.
- Loosen any corner straps before trying again.
Step 4: Clip the Tent Body Evenly (Stops Sagging and Stress)
If your tent uses clips:
- Start at the bottom corners and work upward.
- Alternate sides so tension stays balanced.
- Make sure fabric panels aren’t twisted around the poles.
This step affects comfort more than people expect. A smooth, evenly tensioned body handles wind better and reduces flapping.
Step 5: Add the Rainfly the Right Way (Not “Close Enough”)
A rainfly is your weather shield. It also helps with warmth and wind protection.
- Find the fly’s front/back (often marked or shaped around the door/vestibule).
- Drape it over the tent so the fly door matches the tent door.
- Buckle/attach fly corners to the tent corners.
- If your fly has vents, keep them open unless the weather is extreme.
Rainfly Fit Check
You’re aiming for:
- No big loose pockets where water can pool.
- Enough airflow that the fly doesn’t press against the tent body.
Step 6: Stake the Tent Corners (Anchor the Shape)
Even if the tent stands without stakes, you still want it anchored.
- Start with two opposite corners to square the base.
- Pull the corner webbing snug—avoid overstretching.
- Drive stakes at about a 45-degree angle, leaning away from the tent.
Soft ground tip: Push stakes in with your boot first, then tap with a rock or mallet to seat them firmly.
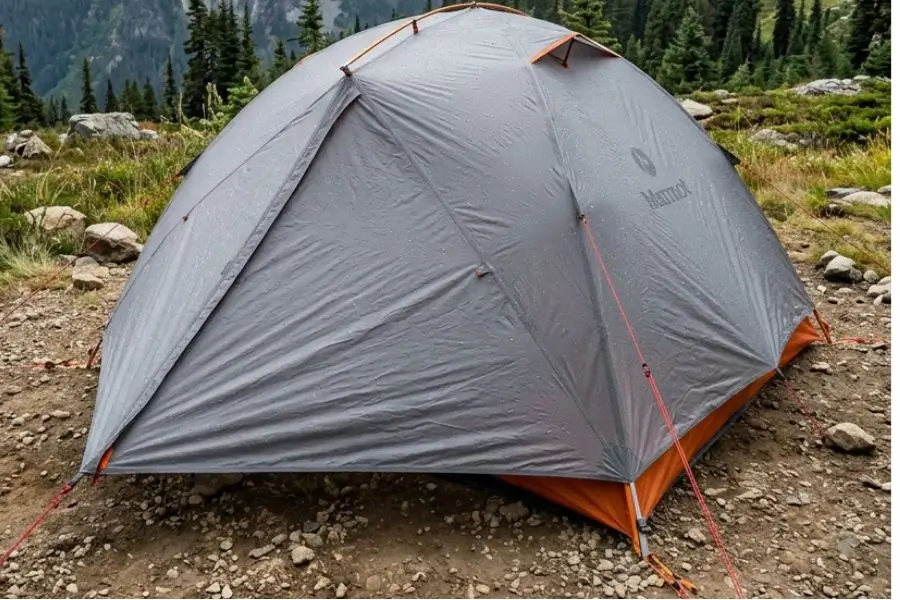
Step 7: Guy Out Your Dome Tent (Wind-Proofing for Beginners)
Guy lines matter most when the wind shows up at 2 a.m. That’s when you’ll be glad you spent two extra minutes now.
- Attach guy lines to the fly’s guy-out loops.
- Stake each line 2–3 feet from the tent, pulling the fly outward.
- Tension the lines until they’re taut, not guitar-string tight.
Simple Tension Rule
- Too loose: the fly flaps, water can pool, noise increases.
- Too tight: you strain seams and distort the tent shape.
Fine-Tuning for Comfort: The Small Moves That Improve Sleep
Once your dome tent is standing, you can set it up like a place you actually want to spend the night.
Set Up the Inside in This Order
- Sleeping pad first (it’s your base layer and insulation).
- Sleeping bag second (keeps it cleaner and off damp ground).
- Gear along edges (leave a clear path from door to sleeping area).
- Headlamp and essentials in a pocket (so you’re not digging at midnight).
Condensation Isn’t a Leak (Most of the Time)
If you wake up to damp walls, it’s often condensation from your breath, not rain coming through.
To reduce it:
- Crack a vent or door (weather permitting).
- Keep wet clothes and boots in the vestibule, not beside your sleeping bag.
- Avoid pitching right next to water where humidity is high.
Common Beginner Mistakes (And How to Fix Them Fast)
Mistake 1: Pitching in a Drainage Dip
What you notice: damp floor, muddy edges, water creeping toward the tent.
Fix: move to slightly higher ground. Even a few feet can change how water flows.
Mistake 2: Footprint Larger Than the Tent Floor
What you notice: water collects under the footprint.
Fix: fold or trim the groundsheet so it’s slightly smaller than the tent base.
Mistake 3: Door Facing the Wind
What you notice: wind-driven rain near the zipper, loud flapping.
Fix: rotate the tent before fully staking, then re-stake and re-guy.
Mistake 4: Skipping Guy Lines Because “It’s Calm”
What you notice: tent flexing, fly slapping, stakes working loose.
Fix: guy out at least the windward side, especially if weather can change overnight.
Troubleshooting Dome Tent Setup Problems (Beginner Solutions)
Poles Won’t Reach the Grommets
Try this:
- Make sure each pole segment is fully seated.
- Spread the tent body completely flat.
- Loosen corner straps and try again—tight straps shorten your reach.
Rainfly Sags or Touches the Tent Body
Try this:
- Tighten fly corner buckles evenly.
- Add or re-tension guy lines to pull panels outward.
- Re-stake so lines pull straight, not sideways.
Stakes Won’t Go In (Rocky or Hard Ground)
Try this:
- Move the stake spot a few inches—often you’re hitting one hidden rock.
- Use alternate anchors: tie guy lines to heavy rocks.
- In sand or snow, bury a stake or stick horizontally as a “deadman” anchor.
Tent Looks Crooked After You Stake It
Try this:
- Pull stakes and reset corners in a square shape.
- Stake opposite corners first, then fill in the rest.
- Re-check that poles cross in the correct center point.
Extra: Quick Weather Adjustments (Use This When Conditions Change)
Weather Setup Cheatsheet
| Condition | What to do | Why it helps |
| Windy | Face less-open side into wind, use guy lines, stake every point | Reduces sail effect and pole stress |
| Rain | Tighten fly, ensure footprint doesn’t stick out, use vestibule | Prevents pooling and splashback |
| Hot | Increase ventilation, use partial fly if possible | Reduces condensation and heat buildup |
| Cold | Keep fly on, block drafts, still vent slightly | Warmth without soaking your tent in condensation |
FAQ: How to Pitch a Tent for Beginners (Real Questions, Clear Answers)
How long does it take when you’re learning how to pitch a tent for beginners?
Plan for 20–30 minutes your first couple of times, especially if you’re reading instructions as you go. Once you recognize pole routing and fly orientation, 10–15 minutes is common.
Can you pitch a dome tent alone as a beginner?
Yes. A dome tent is one of the easiest solo setups because the crossed poles create a self-supporting frame. You’ll still want to stake it down so it doesn’t shift or lift in wind.
Do you need to stake the tent every time when practicing how to pitch a tent for beginners?
If you want a stable, weather-ready pitch, yes. Even in calm weather, stakes keep the floor taut and the fly positioned correctly.
What’s the easiest way to tell if your rainfly is facing the right direction?
Match the fly door and vestibule to the tent door first. If buckles don’t reach or vents look misaligned, rotate the fly—most “wrong fly” problems are just a 90-degree turn.
What should you do if you forgot a mallet?
A flat rock works. Tap steadily and avoid hammering at an angle. If stakes bend easily, the ground is likely too hard for that spot—move the stake point slightly.
Conclusion: You Can Set Up Your Dome Tent Without the Panic Spiral
Once you know the order—spot, footprint, poles, clips, fly, stakes, guy lines—you stop guessing. You start making decisions. That’s the difference between a stressful arrival and a smooth camp setup.