
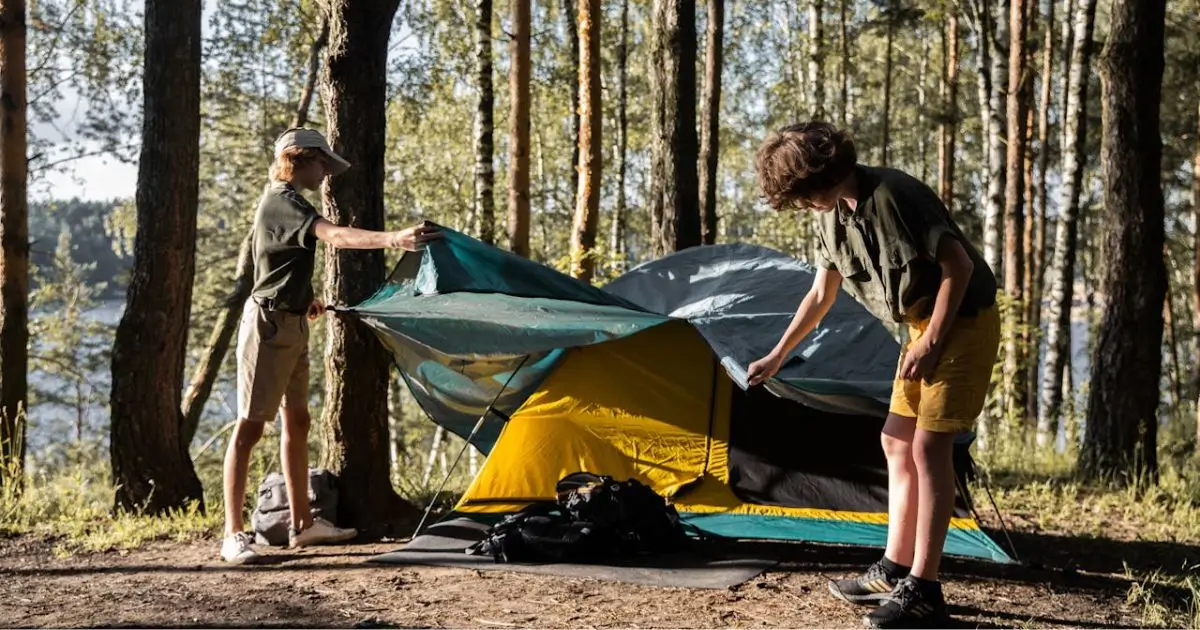
Easy Tent Setup for Beginners: A First-Time Camper’s Step-by-Step Guide to Pitching a Tent Fast
You’re finally out there. The light is fading, your phone signal is weak, and the campground feels louder than you expected. Then you unzip the tent bag and stare at poles, clips, straps, and stakes like they belong to someone else.
If you’ve felt that little spike of panic—good. It means you care about getting it right. And you will. Easy tent setup for beginners isn’t about doing it perfectly; it’s about using a simple order of operations so your shelter goes up quickly, stays put, and keeps you dry.
This guide walks you through the whole process—from picking an easy tent to staking and rainfly tension—so you can set up with confidence on your first trip.
Table of Contents
What “easy tent setup for beginners” really means
An “easy” setup usually has three things going for it:
- Fewer decision points: not five different pole lengths that could fit anywhere.
- Clear attachment system: clips and color-coding instead of confusing sleeves and knots.
- Forgiving structure: a tent that can stand before you stake it (freestanding).
What time should you expect?
If you’re brand new, plan on 10–20 minutes for a simple freestanding tent in calm weather. Add extra time if it’s windy, dark, or the ground is hard. That’s normal.
Helpful references to check before your trip:
- Your tent’s official manual/video (most brands publish a model-specific setup guide)
- Leave No Trace campsite guidance for where to pitch
- Weather forecasts (NOAA if you’re in the U.S.) so you can plan for wind/rain
Choose the right tent (your setup starts at the store)
If you want the easiest first experience, don’t treat the tent as an afterthought. The design determines how smooth the setup feels.
Best features for first-time campers
Look for:
- Freestanding dome tent (2–4 person): easiest to position and re-position
- Color-coded corners and poles: fewer mistakes, faster setup
- Clip attachment (instead of full pole sleeves): less snagging
- Simple rainfly buckles: easier than complicated strap routing
- A vestibule: so your shoes and pack don’t live where you sleep
Quick sizing rule (comfort matters)
- Camping solo? A 2-person tent gives you space for gear.
- Camping as a pair? A 4-person tent feels far less cramped.
Tent types to avoid on your first trip
These can be great later, but they add friction when you’re still learning:
- Non-freestanding tents (need precise staking and good soil)
- Trekking-pole shelters (often require practice with tension and lines)
- Huge multi-room family tents in wind (more parts, more sail effect)
Do one practice run at home (it changes everything)
A single dry run—backyard, living room, driveway—turns the real setup from stressful to familiar.
Your 15-minute pre-trip checklist
Before you pack:
- Unroll the tent body and rainfly
- Count stakes and check guylines
- Assemble poles and confirm they’re not cracked/splintered
- Do a quick full pitch once, then pack it again
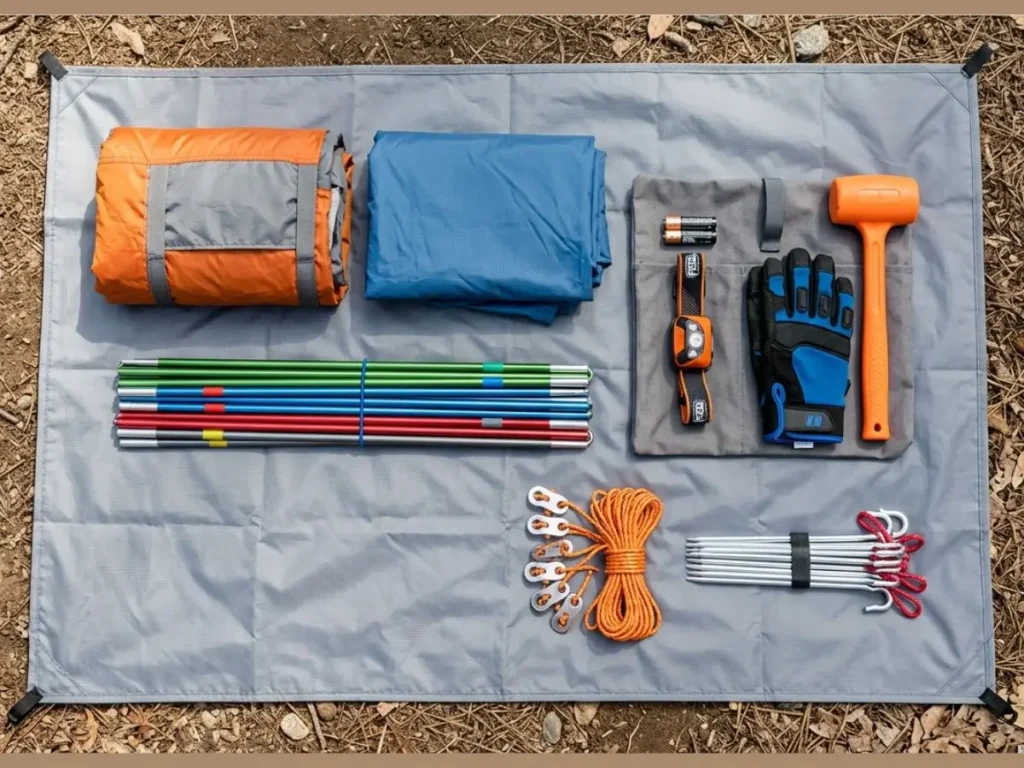
Pack a small “setup kit”
You don’t need a toolbox. You need a few smart helpers:
- Headlamp (hands-free setup if sunset sneaks up)
- Extra stakes (ground conditions vary)
- Small mallet or a sturdy rock (for hard soil)
- A few feet of spare cord (backup line in a pinch)
Pick a campsite that makes setup easy (and keeps you dry)
Even the best tent feels “hard” if you pitch it in the wrong spot.
What to look for
Choose a site that’s:
- Flat-ish (a gentle slope is okay if your head is uphill)
- Higher than the surrounding area (better drainage)
- Clear of overhead hazards (avoid dead branches; “widowmakers” are real)
- Naturally sheltered from wind (behind shrubs/terrain, not under unstable trees)
A quick Leave No Trace reminder
Camp on durable surfaces when possible and avoid digging trenches around your tent (it’s outdated and damages the site). Leave No Trace guidance is the best baseline for beginner-friendly decisions.
Step-by-step: easy tent setup for first-time campers
This is the beginner workflow that keeps you organized. Don’t skip steps; you’ll gain speed naturally.
Step 1: Lay out and orient the tent
- Put the tent body down where you want it to live.
- If there’s wind, orient the door away from the prevailing wind when possible.
- Keep zippers mostly closed so the fabric holds shape while you work.
Using a footprint without causing leaks
If you use a footprint or tarp, make sure it doesn’t stick out beyond the tent floor. A footprint that protrudes can funnel rain under your tent.
Step 2: Assemble poles (without damaging them)
Shock-corded poles are meant to snap together in sections.
- Let the sections connect naturally—don’t whip them.
- Match color-coded ends if your tent has them.
- If the tent uses sleeves, feed the pole gently (pushing can snag and split fabric).
Step 3: Raise the tent body
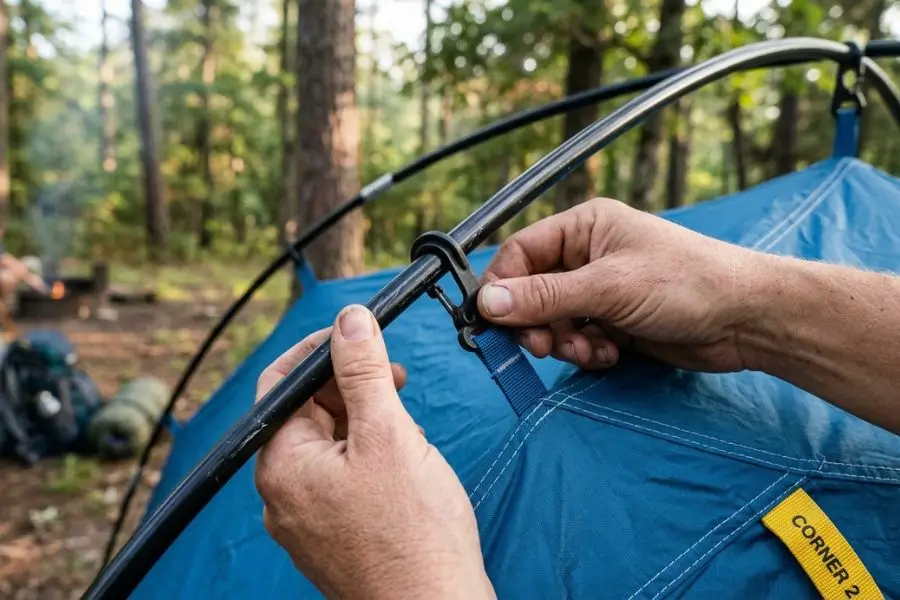
Most beginner tents use clips and corner grommets.
- Insert pole ends into the corner grommets/cups.
- Clip the tent body onto poles from the bottom up.
- If your tent has a hubbed pole system, make sure the hub is centered.
Tip: If something feels forced, stop and check you’re using the correct pole. Poles should bend smoothly, not fight you.
Step 4: Stake the corners correctly (the simple method)
Even freestanding tents need stakes for real stability.
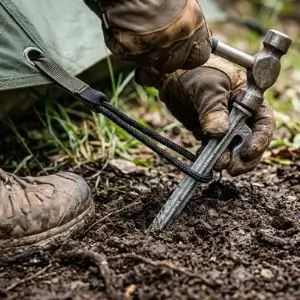
- Stake the four corners lightly first (so you can adjust)
- Aim for a 45-degree angle away from the tent for solid holding power
- Tighten straps evenly so the floor is flat, not warped
Step 5: Add the rainfly (the common mistake is alignment)
This is where beginners lose time.
- Find the fly door and match it to your tent door
- Secure buckles/straps at each corner
- Attach fly-to-pole Velcro tabs (reduces flapping and improves stability)
- Check that the fly covers mesh panels and edges properly
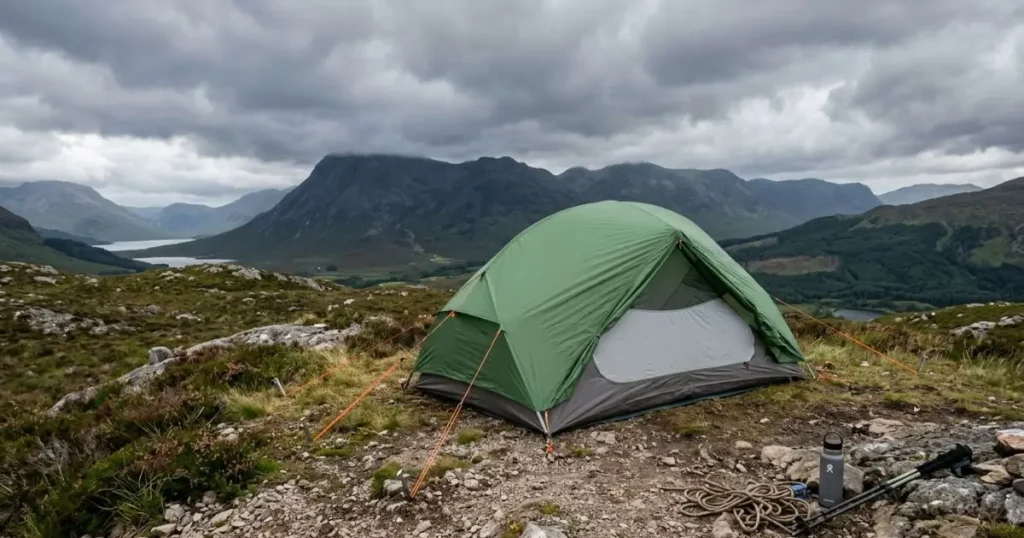
Step 6: Add guylines when weather calls for it
You don’t always need guylines, but they’re your best friend in wind and rain.
Use guylines when:
- It’s breezy or exposed
- Heavy rain is forecast
- Your tent has large mesh panels that need fly tension
Rule of thumb: Tight enough to stop flapping, not so tight that you bend poles out of shape.
Quick reference table: tent setup choices at a glance
| Tent Type | Typical Setup Time (Beginner) | Difficulty | Best For | Notes |
| Freestanding dome (2–4P) | 10–20 min | Easy | Most first-time campers | Forgiving, easy to reposition |
| Cabin-style family tent | 20–40 min | Medium | Car camping in calm weather | More poles; wind can complicate it |
| Pop-up tent | 2–5 min | Very easy | Short fair-weather trips | Folding it back can be tricky |
| Non-freestanding | 15–30 min | Medium–Hard | Lightweight-focused trips | Needs good staking and soil |
| Trekking-pole shelter | 15–30 min | Hard (first time) | Ultralight backpacking | Requires practice with tensioning |
Times vary by model; your manufacturer guide is the most accurate reference.
Common beginner mistakes (and fast fixes)
“My tent floor is wet”
Usually one of these:
- Your footprint/tarp stuck out and collected rain
- You pitched in a low spot where water pooled
- The rainfly wasn’t tensioned, so water ran where it shouldn’t
Fix: Move to higher ground if possible, tuck the footprint fully under the floor, and re-tension the fly.
“My poles feel like they don’t fit”
This is almost always a mismatch.
Fix:
- Check the pole map in the manual
- Look for color-coded corners
- Confirm the pole ends are fully seated in the grommets/cups
“The rainfly is flapping all night”
Flapping usually means slack.
Fix:
- Tighten fly straps evenly
- Use guylines on the windward side first
- Re-stake corners after the fly is on (tension changes once the fly is attached)
Comfort and safety add-ons that make setup feel easier
You don’t need fancy gear, but a few items remove friction:
- Headlamp: the most underrated “setup tool”
- Extra stakes: helpful in sand, loose soil, or crowded sites
- Simple line tensioners or a basic knot (taut-line hitch) for guylines
- Ventilation habits: crack vents/doors appropriately to reduce condensation
Condensation tip you’ll be glad you knew
If you seal everything up tight, your breath adds moisture inside the tent. Even in cool weather, slight ventilation can reduce that clammy feeling in the morning.
How to take down and pack your tent (so next setup is faster)
A clean pack job makes the next pitch smoother because your parts stay organized.
Quick teardown list
- Remove gear and shake out crumbs/dirt
- Take off the rainfly and fold/roll it separately if it’s wet
- Collapse poles gently (don’t yank sections apart)
- Pull stakes using the pull loop (or rock them out carefully)
- Pack stakes and repair kit in the same pocket every time
Storage at home
Dry the tent fully as soon as you can. Long-term damp storage is the fast track to mildew and stuck zippers.
Conclusion: your first pitch doesn’t need to be perfect—just solid
Once you know the order—layout, poles, raise, stake, rainfly, guylines—tent setup stops feeling like a puzzle. On your first trip, your goal is simple: a stable shelter that stays dry and lets you relax. Everything else gets easier with repetition.
FAQ: Easy tent setup for beginners
What is the easiest tent style for easy tent setup for beginners?
A freestanding dome tent with clip attachments and color-coded poles is usually the easiest because you can raise it quickly and reposition it before staking.
How long does easy tent setup for beginners usually take?
Plan for 10–20 minutes with a basic tent in calm conditions. If it’s windy or you’re learning in the dark, give yourself more time and use a headlamp.
Do you need a footprint for easy tent setup for beginners?
You don’t need one, but a properly sized footprint can protect the floor and simplify cleanup. Just make sure it doesn’t extend beyond the tent floor or it may channel rain underneath.
What if the ground is too hard to stake?
Try moving a few feet to softer soil, use sturdier stakes, or (where allowed) reinforce stakes with rocks. In wind, prioritize guylines for stability.
Can you do easy tent setup for beginners in the rain?
Yes. Work in a tight sequence, keep the inner tent covered as much as possible, and get the rainfly on quickly. If your tent supports a “fly-first” pitch, that’s even better in wet weather.